This is my most advanced pizza recipe yet. Using a higher hydration, a long first fermentation as well as a different shaping technique it is more time-consuming and harder to get right than my others, but man is it worth it. However, if this is your first time making sourdough pizza, rather choose a difference recipe for the first tries.
This recipe is not for beginners. With this recipe I aim to archive two things: creating an amazing taste and great oven spring, as well as being able to make dough in bigger batches. I already archived both goals, and the dough tastes delicious, though there will be some more tweaks to the recipes down the line.
If you are new to sourdough or pizza making you might want to try the Four Hour Pizza Dough recipe first. If you know sourdough but are new to sourdough pizza you might want to start with the Sourdough Pizza recipe. Both versions do use a lower hydration dough which is way easier to handle.
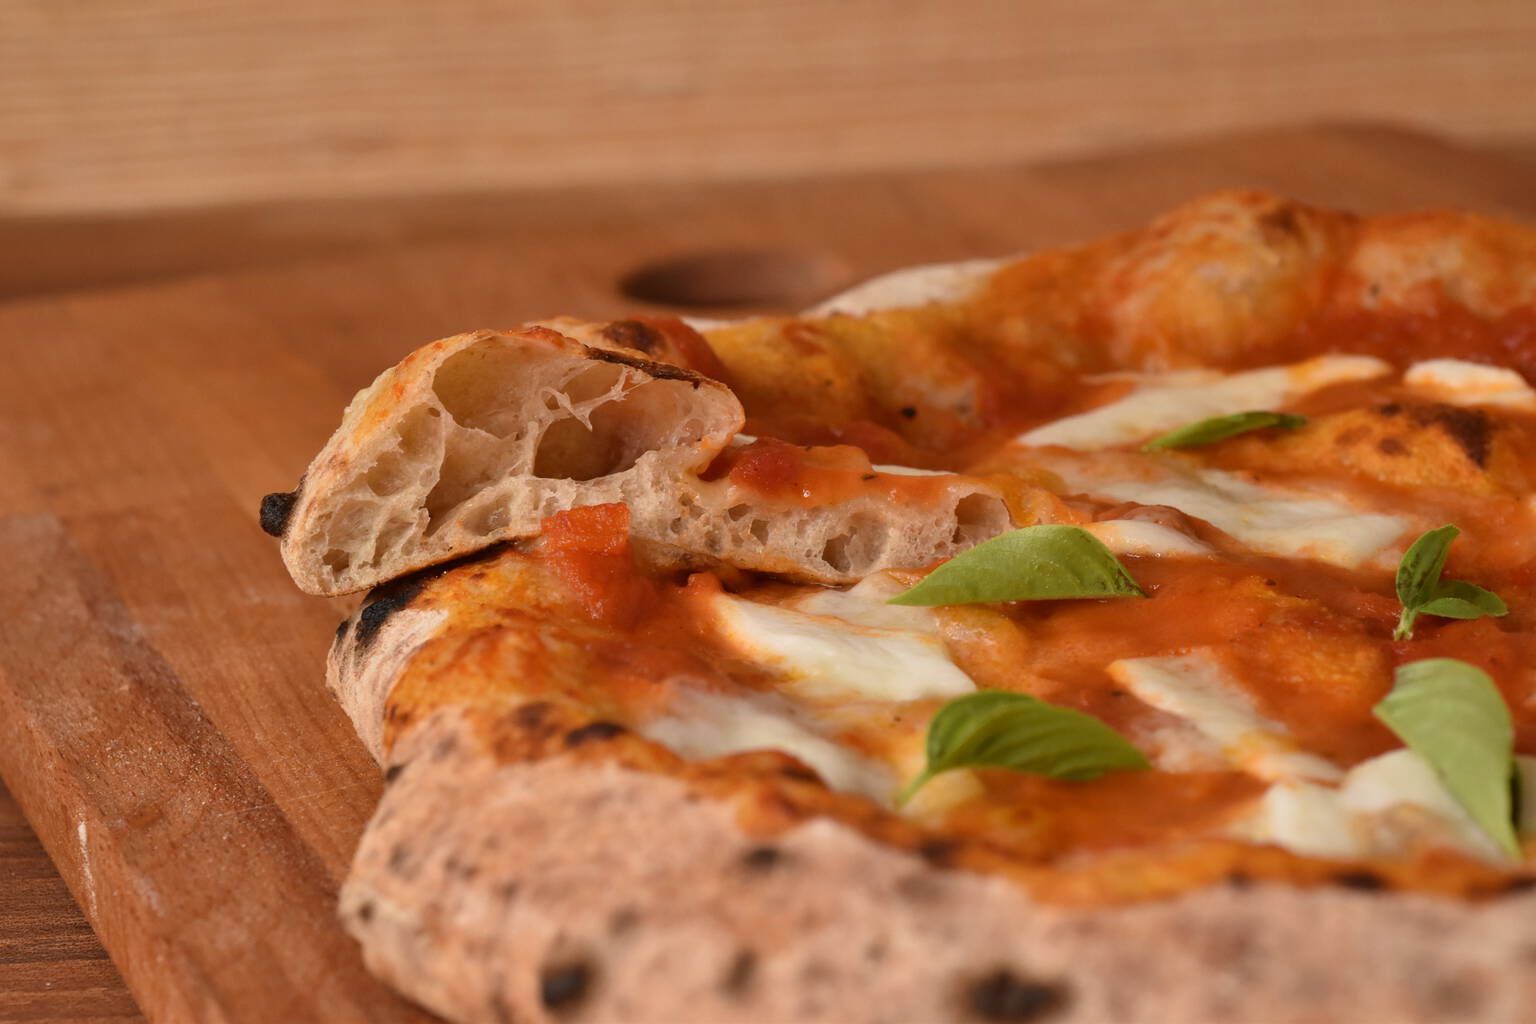
This recipe however aims to step up the game. To archive a better oven spring this recipe does use a higher hydration than others. This allowed (or rather required) changing the technique to form the pizza dough. The results were very noticeable even at first try though the dough was much harder to handle.
The second goal was to alter the recipe to being able to make big batches of dough. In the Sourdough Pizza I used a long second fermentation (letting them rest in the fridge after forming). This works great, though you do need a lot of space in the fridge. For this recipe I used a long first fermentation in the fridge, and a short second fermentation outside.
Ingredients
Sourdough:
- 50g whole grain rye flour
- 50g water
- 30-50g sourdough starter
Dough:
- 500g pizza flour
- 300g water (60% hydration)
- 15g salt
- 125g sourdough (see above)
- 20g olive oil
Instructions
Sourdough Starter
The base steps until the first fermentation are pretty much the same as in the Sourdough Pizza recipe.
Start by mixing the ingredients of the sourdough roughly 12 hours before you mix your dough (about 2 days before you make pizza). The sourdough should be at peak rise when you mix it with the dough.
Dough
For the dough start with a 30 minute autolyze. Mix the water, flour and salt. The water should be fully absorbed but the dough should not yet be fully kneaded. Let it rest covered for about half an hour. Then mix in the sourdough. Let the dough knead for about 7 minutes before adding the olive oil. Let the dough knead another 3 minutes or until the oil is fully absorbed.
First Fermentation
Let the dough rest at room temperature for 30 minutes. Afterward fill the dough in an air tight container and place it in the fridge for about a day. The exact time for the very best result does depend on too many factors. If you don’t have a whole day, increase the rest at room temperature a bit.
Note that sourdough needs air to survive and that it will rise and build up pressure. So choose a big enough container. As an alternative you can just open it up once or twice during the fermentation in the fridge.
Second Fermentation
For the second fermentation get your dough out of the fridge and split it into 4 parts. Different to my first sourdough pizza recipe you have to shape the dough like you shape bread (see: easy method). Place them on a lightly floured surface and let them rest for about 4 hours covered. Note that you cannot cover them with a kitchen towel directly as this will stick to the dough. Either use tupperwares, baking forms or any other trays that you can cover without toughing the top of the dough.
Making Pizza
Shaping wet pizza dough is quite different from what I did before. In a first step grab one doughling and place it in a lot of flour. Flatten it out a bit until it reaches roughly 15cm in diameter. Turn it again and ensure that both sides, as well as the edge (!) is covered in flour. Place the flattened dough on one hand and ‘flap’ it between your two hands. Once it gets thinner get gentler and more or less lay it from one hand to another. You will notice that the dough will stretch. This will take some practice.
Note: I forgot to make pictures, though Ill add them later on.
Place the flattened dough on a cold (!) pizza shovel, add the toppings and place it in your oven. Do not place it on a worm or hot shovel, or the dough will stick to it within seconds.
Tips
-
Getting the best oven spring requires as much heat as possible from down below. Using a pizza stone is pretty much a must. If you use an electric oven, preheat it to its maximum up front. An ideal temperature of the stone would be about 400-450 degrees.
-
A pizza stone will cool down a lot during baking a pizza. Let it heat up before placing the next one.
-
Do not place your pizza dough on a worm or hot pizza shovel, it will stick to it within seconds.