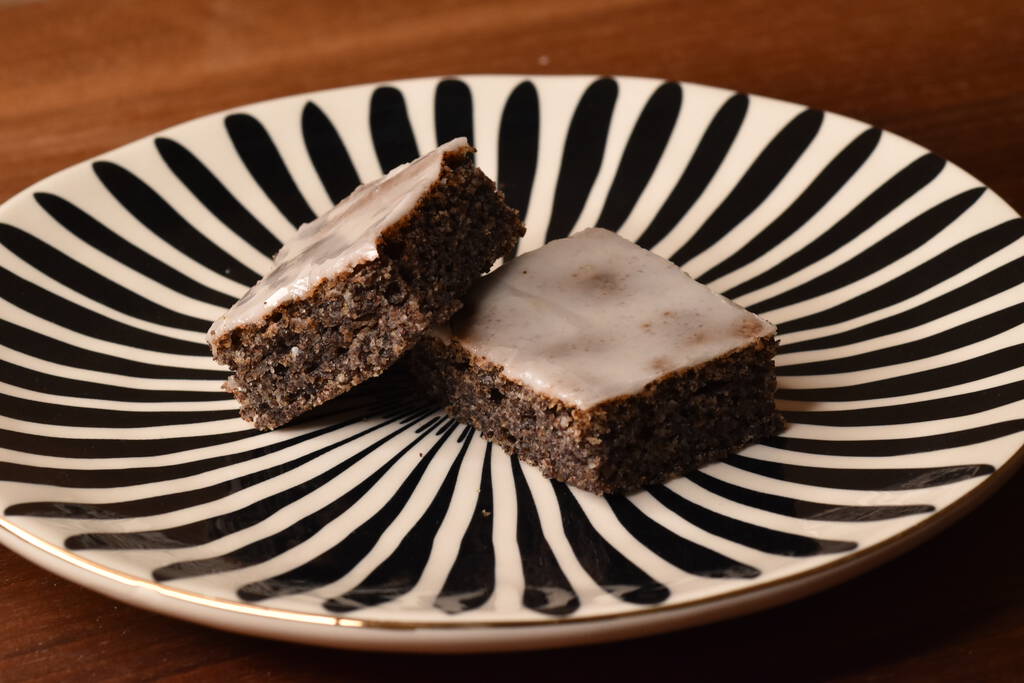
Other than the last pasta dough recipe this one does not use semolina. This makes it harder to get the hydration right, though once you got the recipe down it is impossible to go back to store bought pasta ever again.
Without semolina it is very easy to over hydrate the pasta dough which makes it harder to process it afterward. The main key to a good dough is to figure out how much fluid exactly you need to get the right consistency. The first thing you should do is decide which flour you want to use (type and producer). Using the same for your recipe will make it reproducible, while changing flour will force you to also alter the recipe.
Ingredients
- 300g fine wheat flour
- 1 cl oil
- 0-4 tsp water
- 3 eggs (usually around 150g)
- 7g salt
Instructions
Add all ingredients but the water and let it knead for a few minutes. The dough usually looks way too dry and it does help to remove the wet part from the hook and knead in some dry stuff per hand. You can let it knead for longer and will end up with the same result of course.
Depending on your flour you might want to add a bit of water. Do not add to much at a time. Only add 1 tsp at a time. If you are using a machine, check the hydration of the dough around the hook. If that feels wet, do not add more water.
I struggled a bit with my dough at first. I switched flour a lot which, in hindsight, made it impossible to dial in the perfect hydration. Once I figured out how sensible the dough is in regards to water and I fixed the used flour I also did start measuring the weight of the eggs as well. Most of the time I do end up with pretty much exactly 150g, though I also had some smaller ones with 20g less in total. In that case I added 10g water in addition and the dough was perfect. The process of getting the perfect recipe for pasta is tricky but once you got it down it is such a simple and amazing dish that you cannot go back to store bought pasta again.
These pictures show a dough that is too wet. Notice that one can spot this in an early stage by checking the dough directly around the hook.
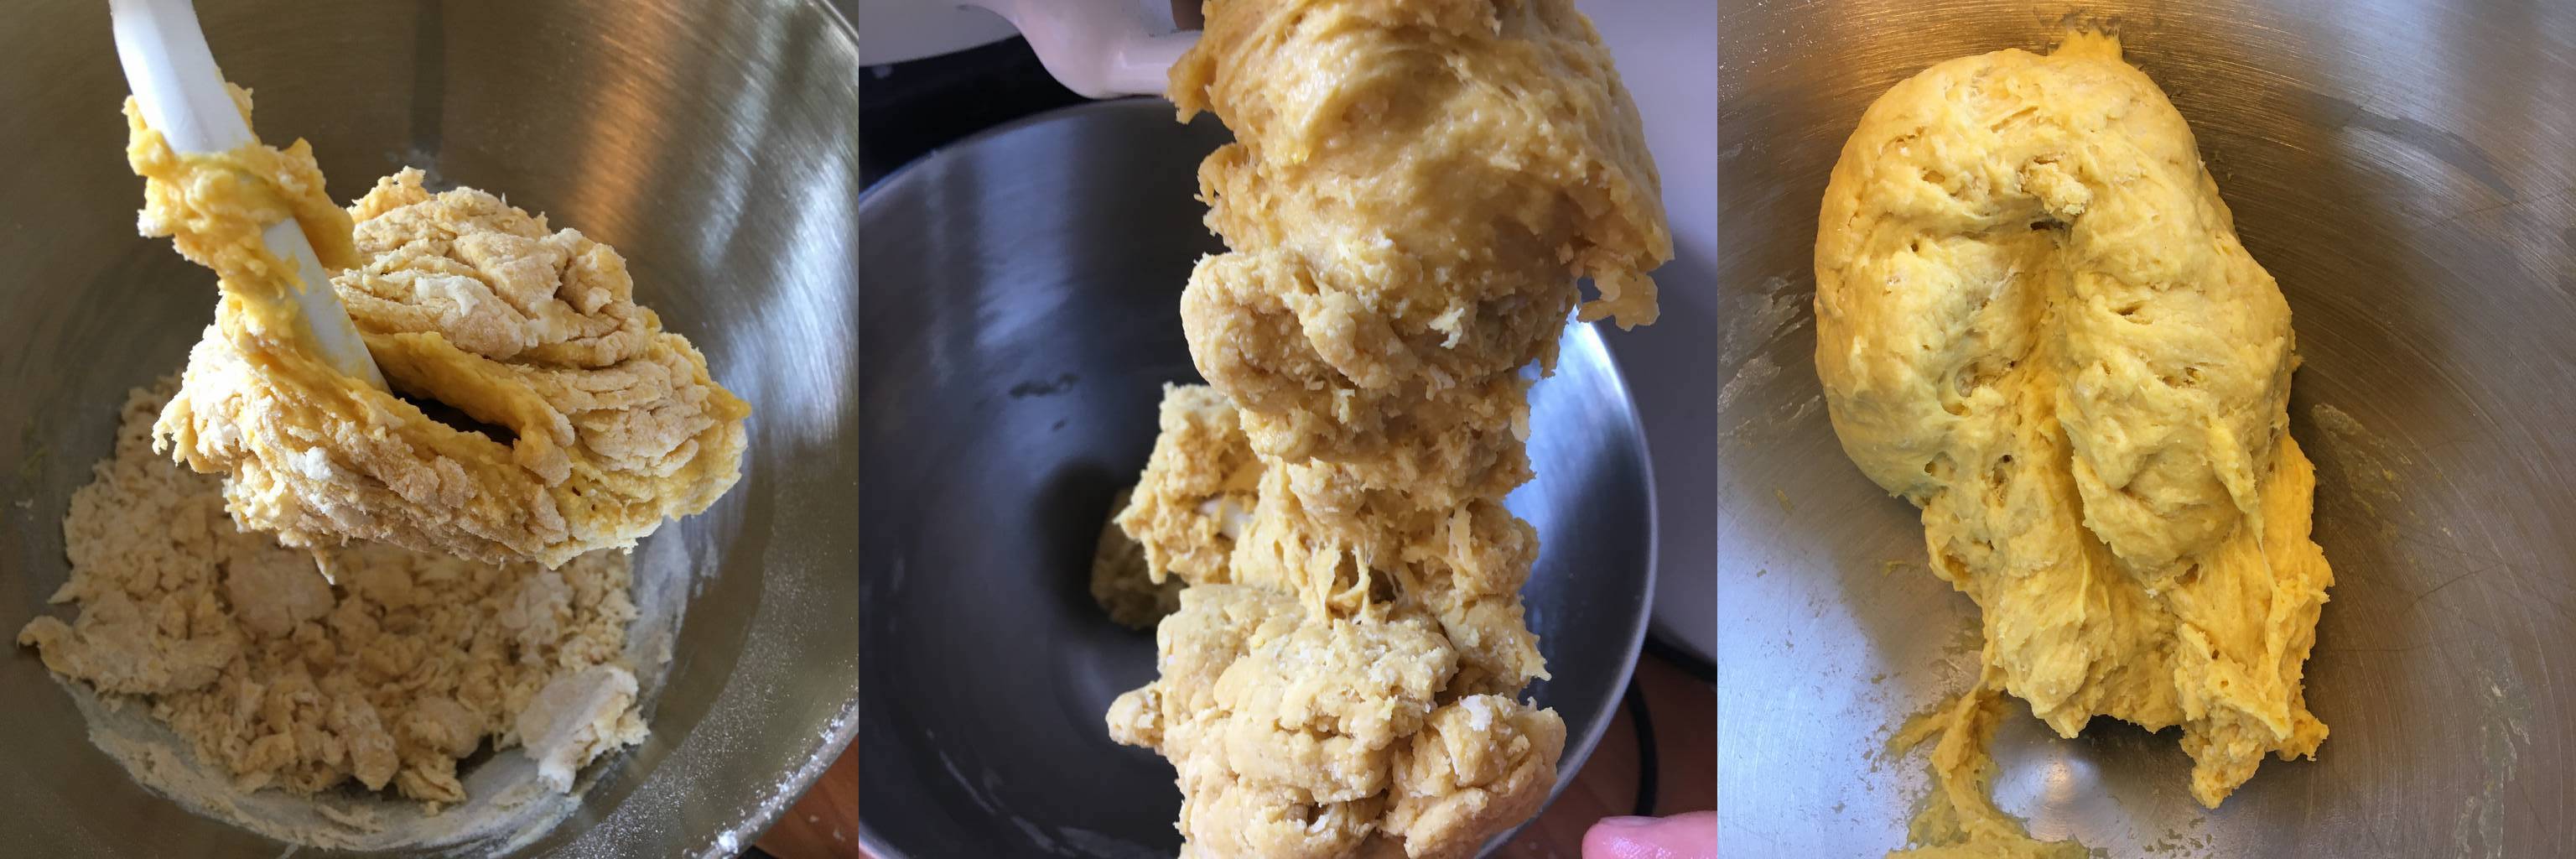
If you end up with such wet dough you can either knead in more flour (most likely per hand) or just roll with it. With an automatic pasta machine it is really no big deal to work with wetter dough. With a manual one you might want to put the effort in and add more flour now.
The dough has to rest for two hours in the fridge. You can reduce the time though it will become harder to work with if you do.
Making Pasta
Cut of smaller parts of the dough (the ones shown have 60g). Note that using bigger ones does not really speed up the process. Unless you want to make perfect square lasagna sheets small ones are easier to handle. Flour the surface and flatten the dough parts with your hand.

Feed it through the pasta maker on the thickest setting. The dough felt quite wet (first picture) and you cannot feed such dough to the cutter. The pasta would stick together afterward in the best and totally mess up the machine in the worst case.
Generously add flour on both sides, fold the dough in and feed it to the pasta maker again.

Depending on how wet your dough is afterward, repeat this process until you have a good result (last picture in the row above). Note that you should do this still on the thickest setting. You can do it on a thinner setting as well, but it will get more tedious.
Afterward lower the thickness step by step and reduce the progress. Following are some pictures in between. I added way less flour to the lower one. This will speed up the process and frankly will result in more pretty uncooked pasta (which is important in case you want to dry them).
However, note that you can not place the wetter dough sheets on top of each other before cutting them. They will stick together and you have to restart.

The same applies for the cut pasta. The drier heavy floured one can be stored for hours without sticking together. The wet one hast to be cut and placed in hot water directly

