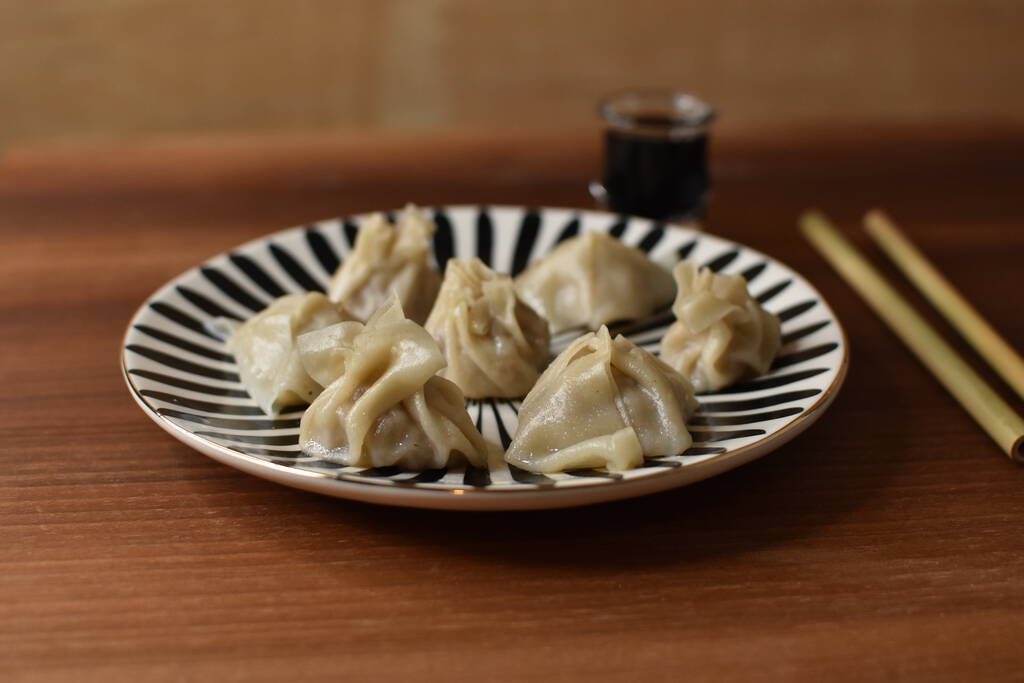
If you are in search of a traditional chinese pot stickers recipe, this is not it. We pretty much winged it and figured out potential ways to fold a dumpling the DIY way. A very fun and memorable cooking experience. And an even better one eating them.
Ingredients
Dough
- 500g fine wheat flour
- 250-270g hot water
- 8g salt
Filling
- 500g ground pork meat
- 150g chinese cabbage (very thin sliced)
- 1/2 onion
- 6 spring onions
- 2 garlic cloves
- ginger (size of 4 garlic cloves)
- 1 egg
- 2 tbsp soj sauce
- 2 tbsp corn starch
- two pinches of salt
- 1/2 tsp pepper
Sauce
- 100g soj sauce
- garlic clove
- ginger (same size as garlic)
- lemon grass leaves (ca 10 cm)
- juice of half a lemon
Instructions
Dough
Heat up the water to about 95 degrees and mix all ingredients together. The dough should come together but be as dry as possible. Start with 250g water and add 10g at a time in case the dough does need more water. Let the dough rest for about 30 minutes covered with a wet kitchen towel.
Sauce
Cut the garlic and ginger into a few slices and mix everything together. Let the sauce sit for about 2 hours for an amazing flavor.
Filling
Mix everything together. Easy as that. You could salt and squash the cabbage up front to reduce the water content, though in my opinion that is not required (that is what the corn starch is there for).
Filling Process
Roll our the dough very thin. I cheated this by using my pasta maker. Cut the dough into squares (traditionally you use round dough pieces but that is way more work). add a ball of filling into the middle and close the dough in any way you can imagine.

We had no idea how to do that properly so we tried a whole lot of different versions. The two versions that we liked most are a windmill shape and something that remotely reminded us as classical dumplings that we got served some time ago.
For the windmills (third image) place some filling in the middle and bring the middle of all sides (not the corners) together. Press them together and let all folded corners fall into the same direction (clockwise or anticlockwise). You can also make flower like thingies by opening the corners and pressing them down a bit (second from the left). For the round dumplings (fourth image) just bring all edges and corners up and press them together.

Place the dumplings on a sheet of baking paper with some corn starch on it. This will ensure they will not stick to the paper but also create a nicer crust during frying.
Put some oil into a pan, add the dumplings. Shake the pan in rocking motions so the dumplings do not stick to the pan too much. Fry them on the underside until nice golden brown. Add about half a cup of water and let the dumplings steam for about 5 minutes covered again, shaking the pan a bit from time to time.
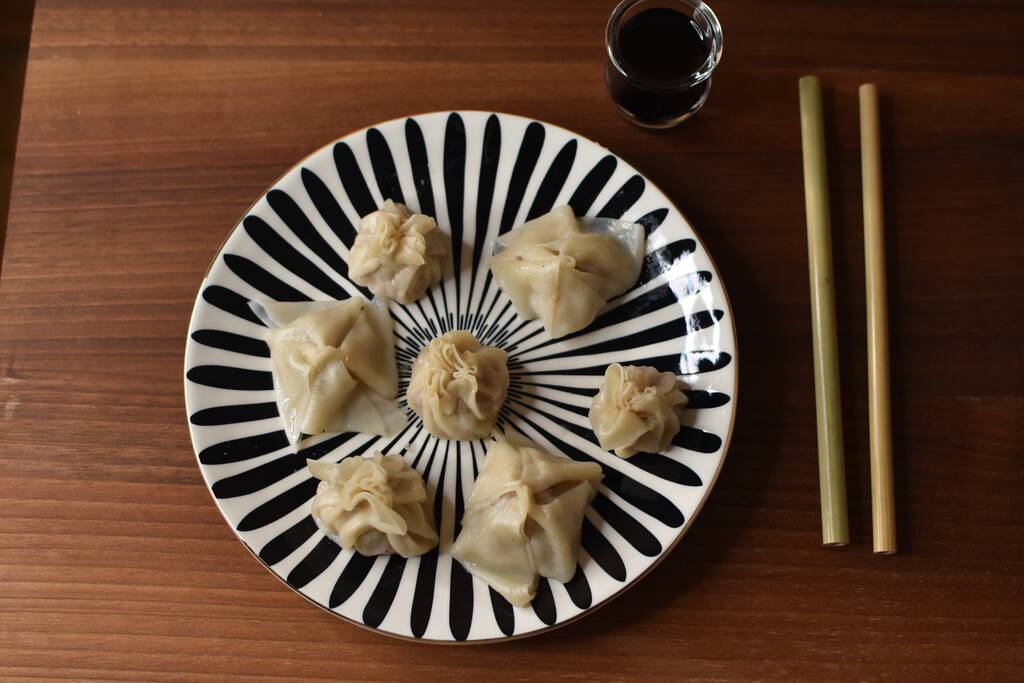
Personally I liked the windmills more as the dough is pretty thin on all parts of the dumpling. The other dumpling had quite a lot of dough on the top. That was also the part that did dry out the most in the second batch.
Tips
Don’t let the dumplings sit out for too long before cooking them. We let half of the portion sit for about 2 hours and we noticed two things. First of all the dough got more sticky and some of them ripped open during shaking the pan during frying. Second, and more annoying, the dough on the top got pretty dry during the resting time and did not get cooked within 5 minutes. I think only shortly dipping them in water would solve this issue, so just do not take the risk and make them all directly.
Next time…
- ~~ reduce the amount of cabbage ~~ (done. updated recipe)
