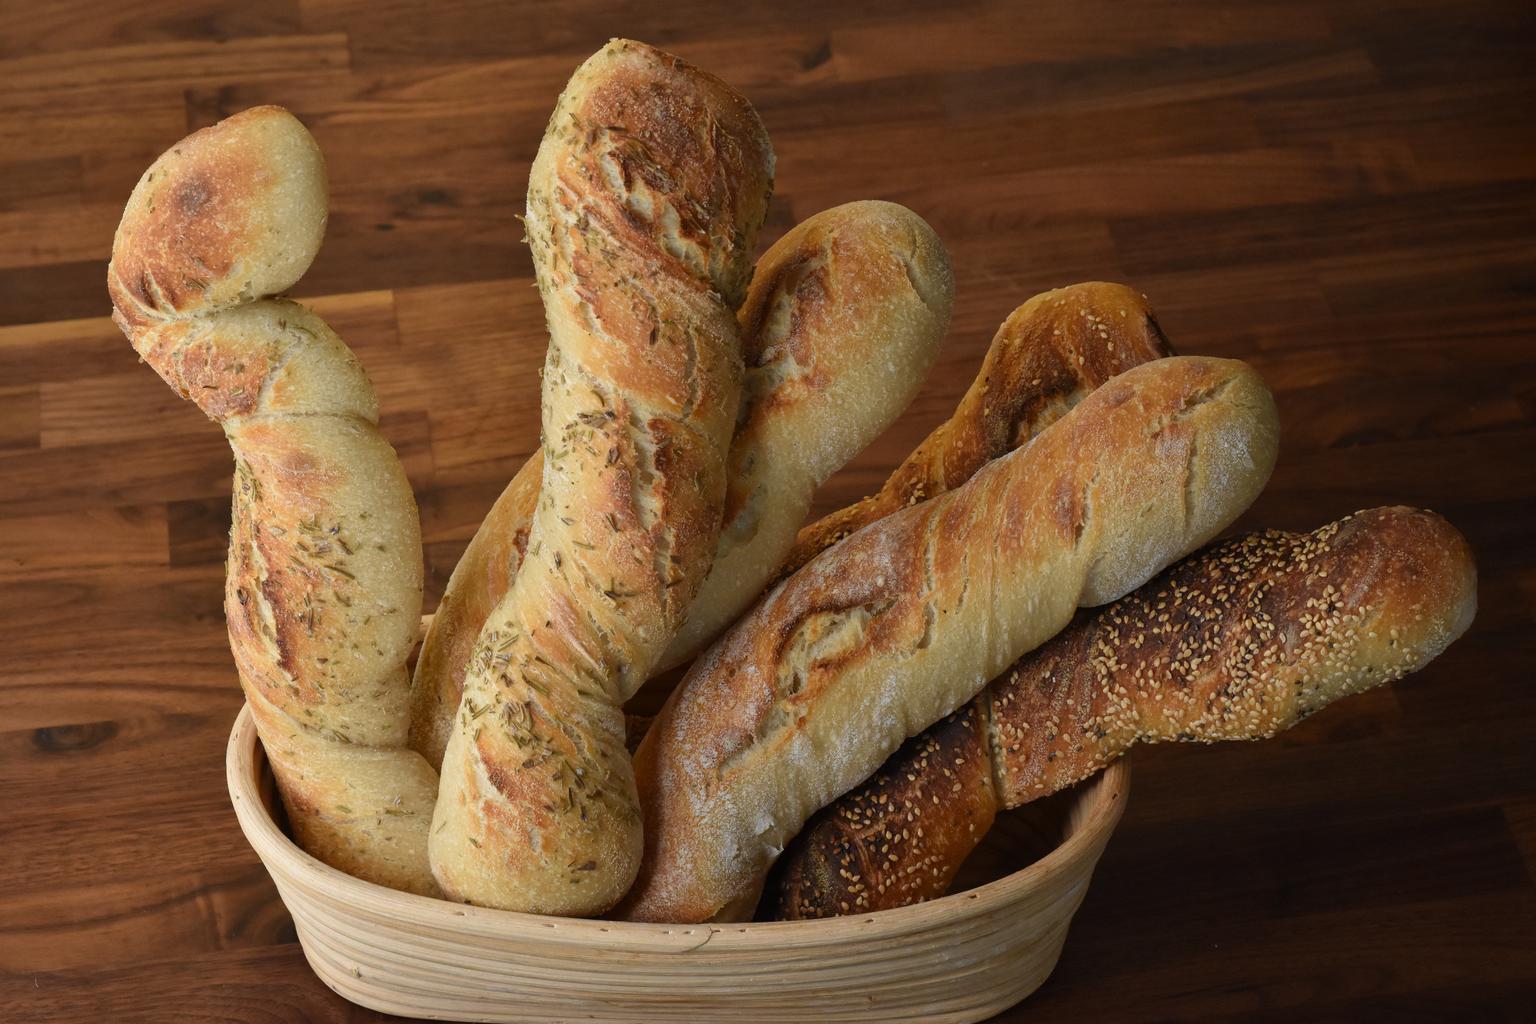
Three variations of slow fermentation baguettes. To simplify the process I went with twisted ones. They look great, but especially the texture is awesome!
Notes onthe flour mix: I ran out of fine wheat flour, but that mix worked great so I stuck with it. Your can substitute the fine wheat flour for pizza flour or the other way around.
In regards to the topping, use whatever you like.
Ingredients
Dough:
- 125g fine spelt flour
- 400g fine wheat flour
- 475g pizza flour
- 20g salt
- 20g fine wheat flour sourdough starter
- 630g water
Crust:
- salt water (to spray on)
- rosemary finely cut
- sesame and chia seeds
Instructions
For the dough knead everything together. For this slow fermentation I usually skip the autolyse completely. Cover the dough and let it rest at room temperature (18-20 degrees) for a whole day. Do one set of stretch and folds roughly after 12 hours.
Note: In case the temperature is higher, you need to either reduce the amount of starter or the resting time.
After 24 hours split the dough into 6 equal sized pieces. Shape them and let them rest in a position where they can keep their shape easily. If you use kitchentowels as shown in the picture do use rice flour to dust it up front to avoid the dough sticking do the fabric. Note that normal flour does not work well for dusting, do use rice flour.
Proofing is done after another 12 hours. Preheat the oven, if you have one, use a Dutch oven. On another kitchen towel spread the seeds, herbs or whatever you want to use for the crust.
Get two doughlings out, spray them lightly with salt water and roll them once in the prepared seeds.

Now twist the doughlings and place them in the Dutch oven. Personally I do them in batches of two.
Note: Getting perfect straight shapes is quite hard in the duch oven and without proper proofing baskets. Twisting them makes the process overall easier and I do like the look more.
You can score the baguettes, though I have not yet found the perfect way to do that ye.
Bake them 15 minutes covered and 10 minutes uncovered, both at 250 degrees. When baking them uncovered, keep both parts of the Dutch oven inside, that way you can bake back to back.
Let them cool down on a wire rack. In case you want to freeze some I would let them cool down covered by a kitchen towel. This allows the crust to soften a bit which, in my oppinion, gives the better result once you thawn them.