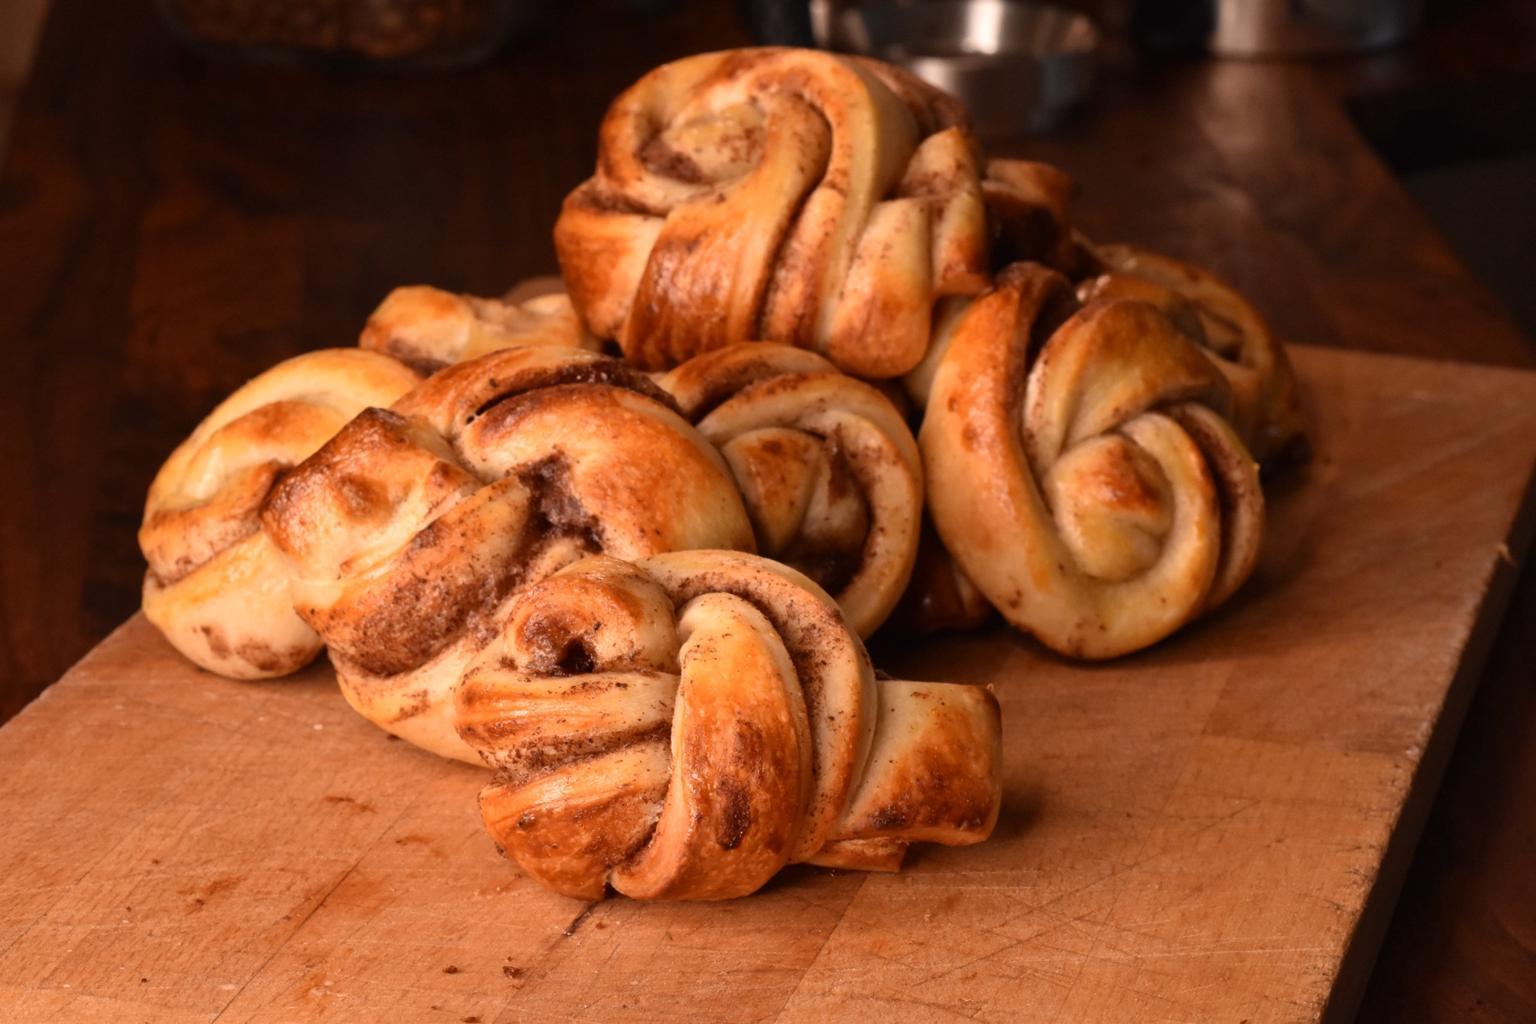
I never got into baking rolls due to the efforts involved and the not optimal results. This is another approach of getting the process down and good-looking results out.
I tried various rolls over the past years, though the results were never that great. While I got the process of baking bread down to a point where I’m generally satisfied, I never got to the point where I liked making rolls.
Key here was that proofing (proofing baskets) and baking (Dutch oven) are way easier with bread and while in theory one could use the same techniques for rolls it would be pretty tedious for them.
With rolls I tried to proof them on a baking tray (or baking paper), though keeping them humid and warm during that time was an issue. Covering them with a wet kitchen towel often messed up the skin when removing the towel. Transferring them after the rest together with the baking paper was sketchy and baking them on the tray they rested on did end with a good result as the heat was not high enough for a good oven spring as the tray was not preheated.
As I got myself a fermentation station where I can proof dough in I thought I give rolls another chance. Funny enough, the fermentation station itself was not the real key for the success. Sure, it provides a warm and humid environment, though one can archive the same effect in a shortly preheated oven and a bowl of water inside it.
What actually changed however was how I approached proofing with the new device. At first, I tried to let the doughlings proof on baking paper directly placed on the proofers wire rack. Getting this in and out however was a pain and I decided to get smaller baking trays that I could place in the fermentation station with the doughlings resting on them. As moving doughlings is not the easiest of tasks I decided to bake the rolls directly on those smaller trays. I could have done this before actually, though it never even crossed my mind.
The first try did not work that well. There was too little heat from the bottom (due to the cold baking tray). Using a preheated pizza stone however heated up the smaller baking trays fast enough for a decent oven spring. The combination of using a preheated pizza stone as well as using smaller trays for proofing and baking was the key for making baking rolls fun for me.
Following I’ll describe my generic process for baking rolls and show my general timetable.
Note: For this process you can use any kind of bread dough you like. Though reduce the hydration. Rolls do not hold the shape as good as bread. We also let them proof without proofing basked.
If you are brand new, you might want to check out the bread basics first.
Best start with any dough (or rather flour) that you know how to handle. Maybe reduce the hydration a bit, just for the first time.
Key Requirements
- 30 degrees humid environment (fermentation station or oven)
- pizza stone
- smaller baking trays for proofing and baking (must be able to fit in your oven on top of the pizza stone)
- ice cubes (for baking)
Dough
Use any dough you like. Start with one you know how to handle and maybe reduce the hydration by 5%, just to be on the save side.
A good starting point for me was:
- 300g wheat flour
- 200g full grain rye flour
- 300g water (60% hydration)
- 10g salt
- 75g rye sourdough starter
Nothing special, but good for practice.
If you have time, start with an autolyze before kneading the dough. Otherwise, just mix all ingredients together and move forward to bulk fermentation.
Bulk Fermentation
For bulk fermentation you want a warm and wet environment, so the dough can rise but does not get a hard skin. 30 degrees work really well, though a longer fermentation at 20 degrees does add some more tanginess to the taste.
Using cold water and starting with a non preheated fermentor I found that at a target temperature of 30 degrees the proofing time is about 3.5h (which is not that much shorter than the 4h I usually let it rest at room temperature). Though you can speed the process up using warm water so that the dough (and pot where it rests in) is already 30 degrees when starting. This way proofing will not take longer than 2.5 hours.
Shaping
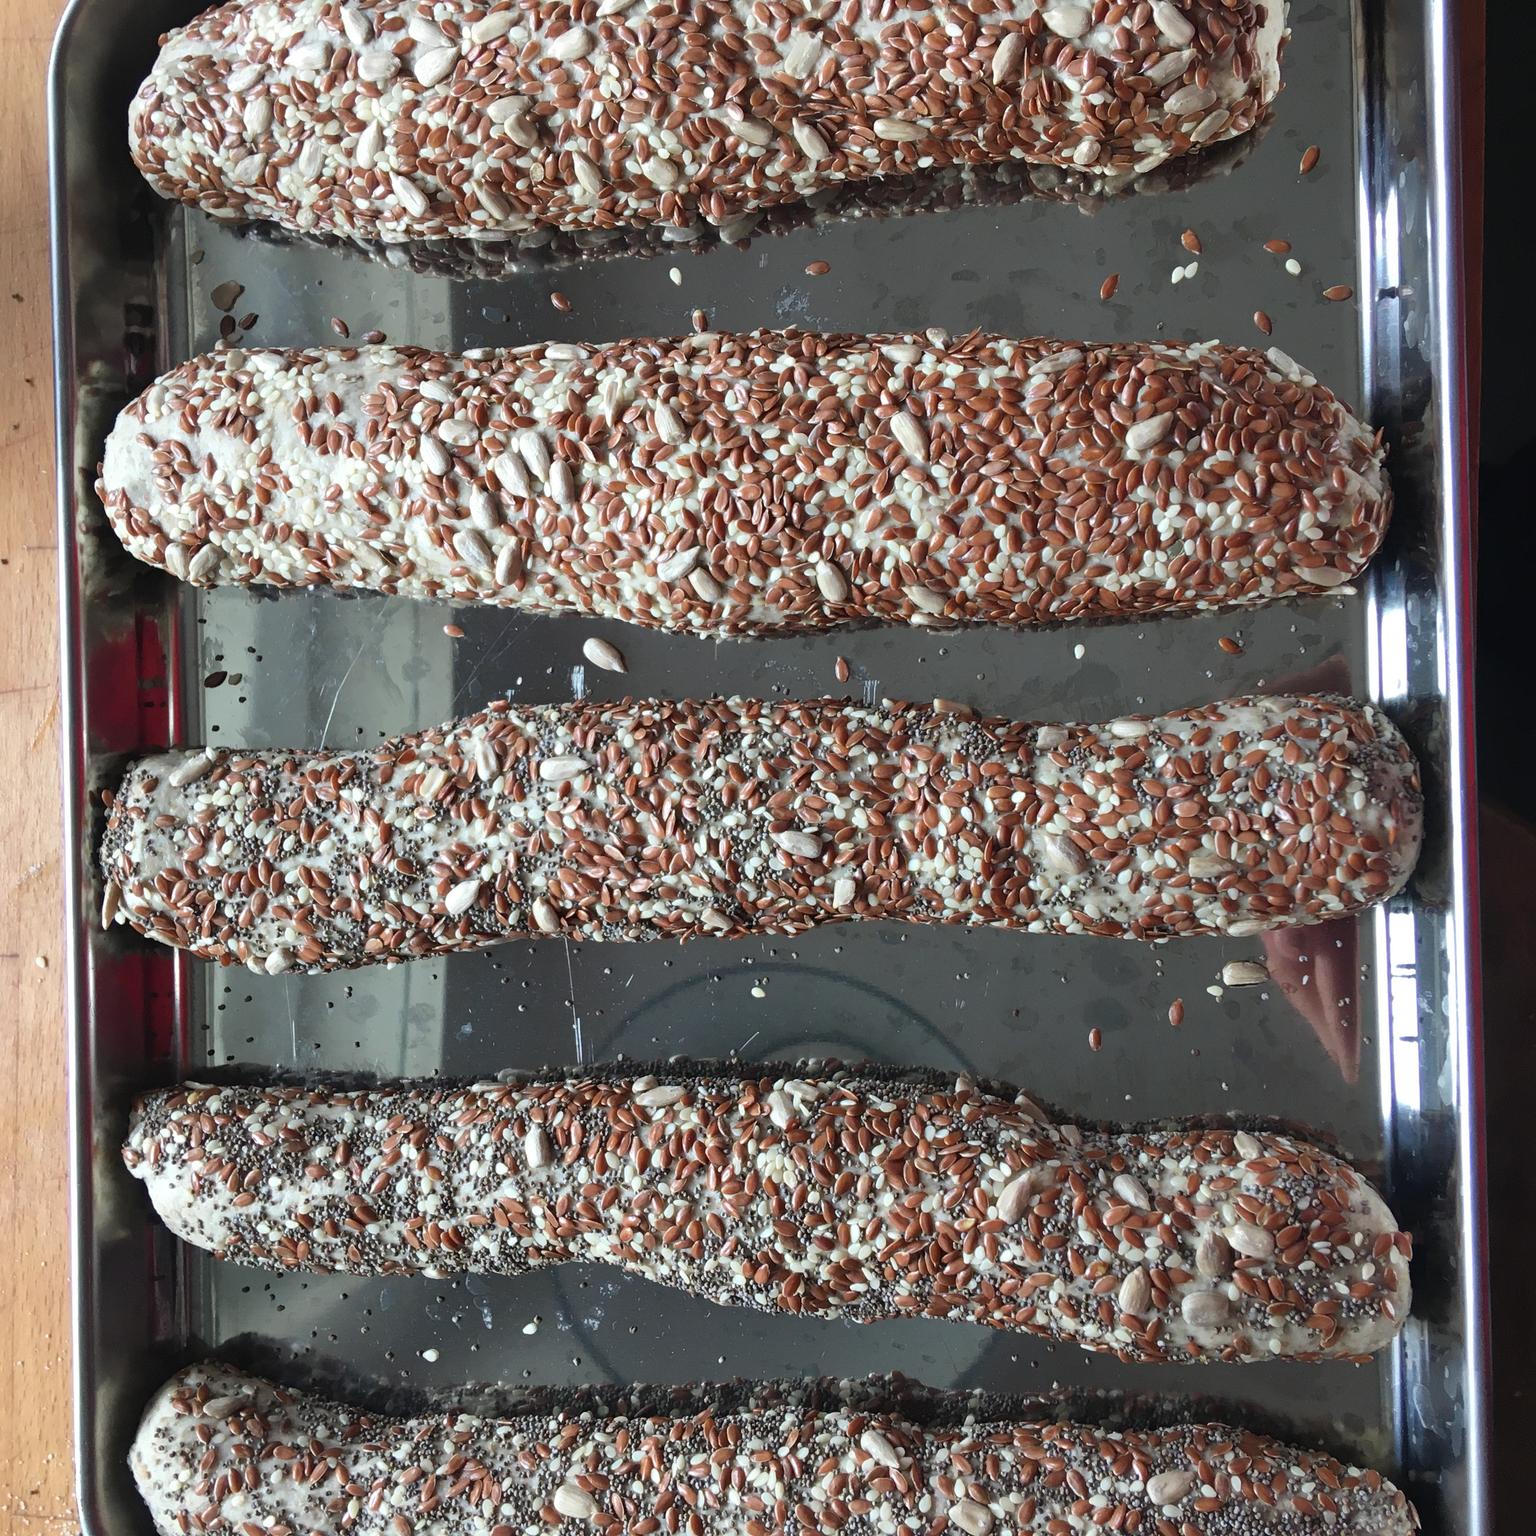
After bulk fermentation split the dough into portions. Depending on what size or form you want I would suggest splitting the dough into 4-6 portions. Prepare the smaller baking trays and dust them very generously with rice flour (you can use normal flour, though the gluten will stick more than rice flour does). Without that step you will have a bad time getting the rolls off after baking.
Note: I decided to buy normal metal trays as the non sticking trays do not handle high heat well. As I do place this tray directly on a very hot pizza stone, normal trays were the better option in my opinion.
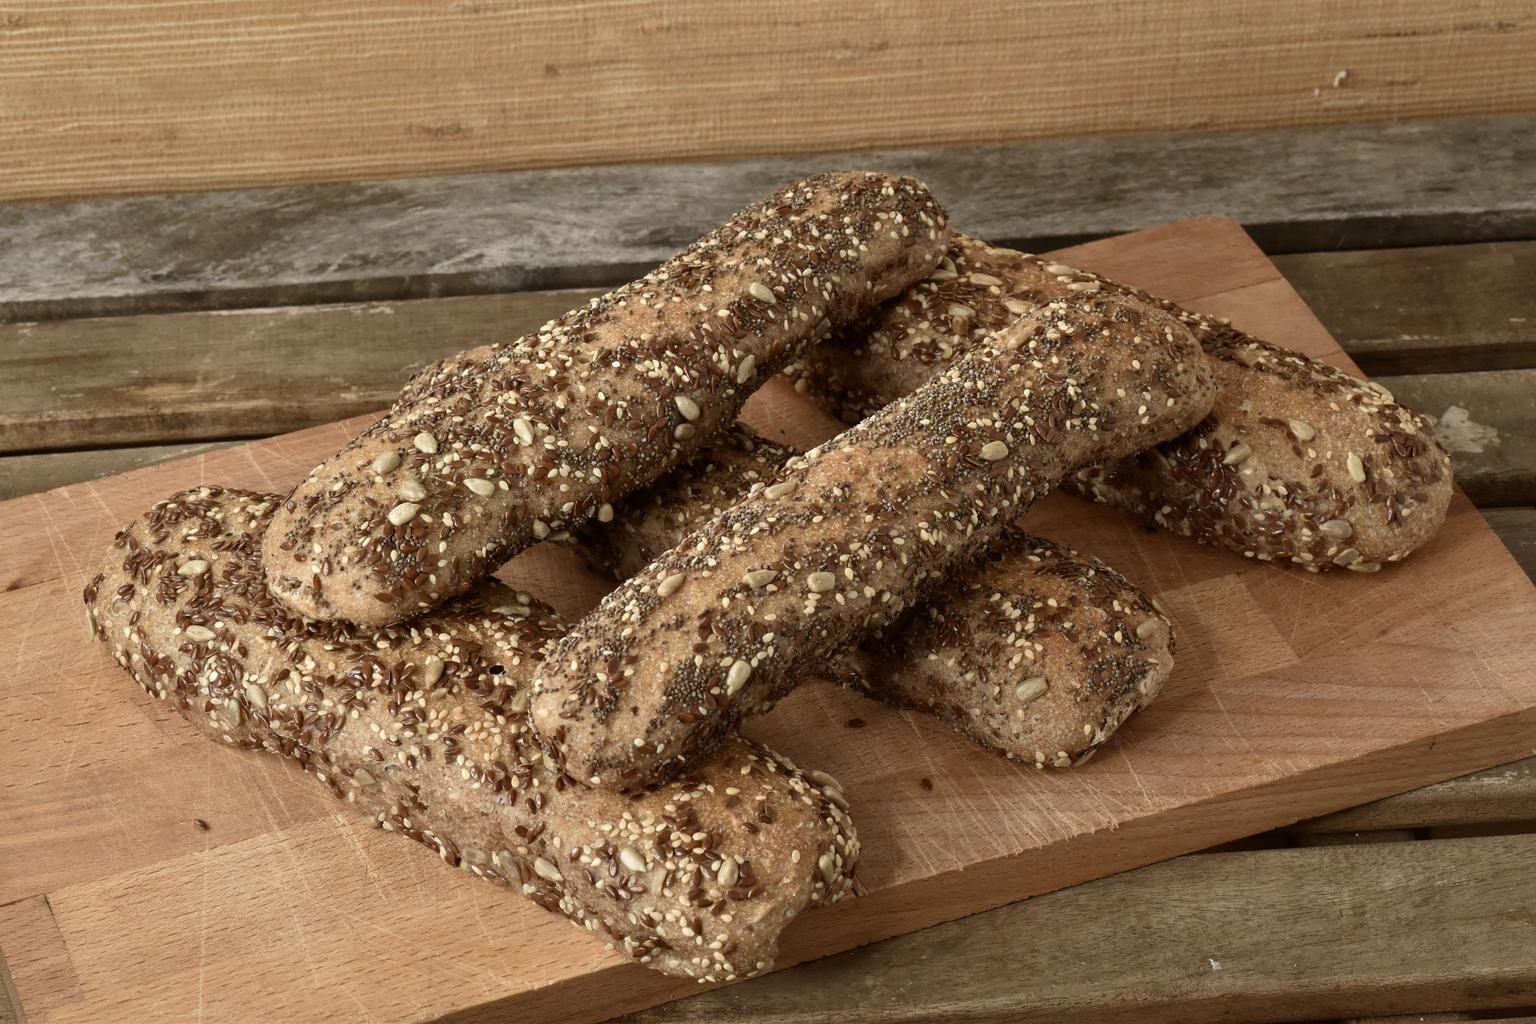
This part of my process is not superb yet. Baking directly on the baking trays ens up with sticking rolls. One option is to cover them in seeds. Another option would be to use baking paper (though that might end up being soaked after proofing) or using silicon baking mats.
Proofing
Once all the doughlings are shaped, let the tray rest in a warm and wet environment again. As a rule of thumb I go with the same temperature as with bulk fermentation, though only half the resting time (usually 30 degrees, 1.5-2 hours).
Note: preheating the oven and the pizza stone takes time, so you usually want to start this during proofing. It is not enough if the oven reaches 250 degrees. The pizza stone must reach that temperature so the process really works. This takes time, so best start this process in the middle of proofing to be ready once the doughlings are.
Baking
Once the proofing is done and the oven has reached its temperature, place the baking tray with the rolls on top of the pizza stone. Throw the ice cubes into the oven (I place them directly in the oven, though you can add them into a heat-resistant vessel that also has been preheated together with the pizza stone). Let this bake for 10 minutes. Open the oven for 15 seconds to let access steam out. If there are ice cubes left, remove them from the oven (though there should not be). If so, reduce the amount of ice next batch.
Close it again, reduce the heat to 220 degrees and let the rolls bake for another 10 minutes.
Get them out and place them on a wire rack. If you used sourdough, let them fully cool down before cutting into them. If you used yeast based dough you can enjoy them once still warm.