This is a summary of my processes to cure meat.
This is still work in progress
Handling raw meat is a delicate process. Please do get other sources of information other than this guideline before you try to cure meat yourself. Eating incorrectly processed meat can do harm to you, so do your research before starting. If the meat looks, smells or tastes funny in any way: throw it and start again.
General Approach
Curing meat is the process of letting meat dry. To ensure no mold or bad bacteria affects the meat one does salt it up front. Its important that the meat does get fully infused with salt. The salt must penetrate it fully, salting the outside will not do the trick.
There are a lot of different variations of the process and a lot of options on how to archive that goal. You can find ways to do so in your cellar, refrigerator or even at normal room temperature.
The approach I used to get started was a equilibrium cure (infusing the meat with salt in a vacuum bag), stringing the meat up and then drying it in my refrigerator.
Ingredients
Salts
There are a lot of different salts you can use for curing meats. I started with normal kitchen salt and a quite high salt percentage (4.5% of starting weight). However, to be on the save side I would recommend getting curing salt. It is the saver bet and once you know the process you can reduce the salt content by quite a bit (under 3%).
So if you just want to try it kitchen salt is fine. For bigger pieces of meat I’d spend the few bucks on curing salt.
Note: I also used smoked salt to cure meat.
Meat
You can use any meat you want to cure. However, I’d recommend to start with something smaller and ‘cheaper’. If you go with something expensive you might think twice about throwing a bad batch.
Type
I started with pork tenderloin and with small pieces (100-200g starting weight). You can use whatever type or cut of meat you want of course.
Size
The size of your meat will influence the duration it takes for the process to finish, though there are other considerations one should make. The smaller the meat, the more equal the consistency will be in non-perfect curing conditions.
If you dry a big piece of meat in, for example, too dry conditions the outer parts will be very dry while the inner ones are still too soft. With smaller pieces the difference will not be that noticeable.
Spices
You can use a lot of different spices to infuse the meat with flavor. However, I would not do so during the first batches for two reasons. First of all additional ingredients might bring additional risks of mold and other bacteria. And more important, spices might over tone bad taste of a bad batch. Until you know what you are doing, don’t use spices.
If you do want to use spices I would highly recommend to already add them while infusing the meat. This way also the spices get infused with salt. I got mold on a batch where I added a lot of spices after infusion but not when adding them before.
Time estimates
Taking notes will give you a good guideline on how long to expect a batch to hang, though should not be used as criteria to get them down.
The final time it takes is defined by weight loss. Never stop before the meat did not lose at least 35% of its weight!
Infusion
Infusing the meat with salt (also called equilibrium cure) in a vacuum sealed bag usually takes 5-6 days for the approach I’m choosing currently.
Drying
The time it takes to cure meat is heavily depending on the meat size and form, but also on the environment you cure it in. A cold and humid refrigerator affects this process totally different from a warm airy dry at room temperature.
How long you have to cure them (no matter the environment and meat weight) is defined by the weight loss of the meat. You need to lose at least 35% of the starting weight to be on the save side. The exact amount you want to reduce the meat to depends on the recipe (some reduce it by 70%). For what I’m after I usually go with 35% loss.
For a 100g piece tenderloin drying in my refrigerator takes usually 12-14 weeks hanging time. For a 200g piece tenderloin it took roughly 16-18 days.
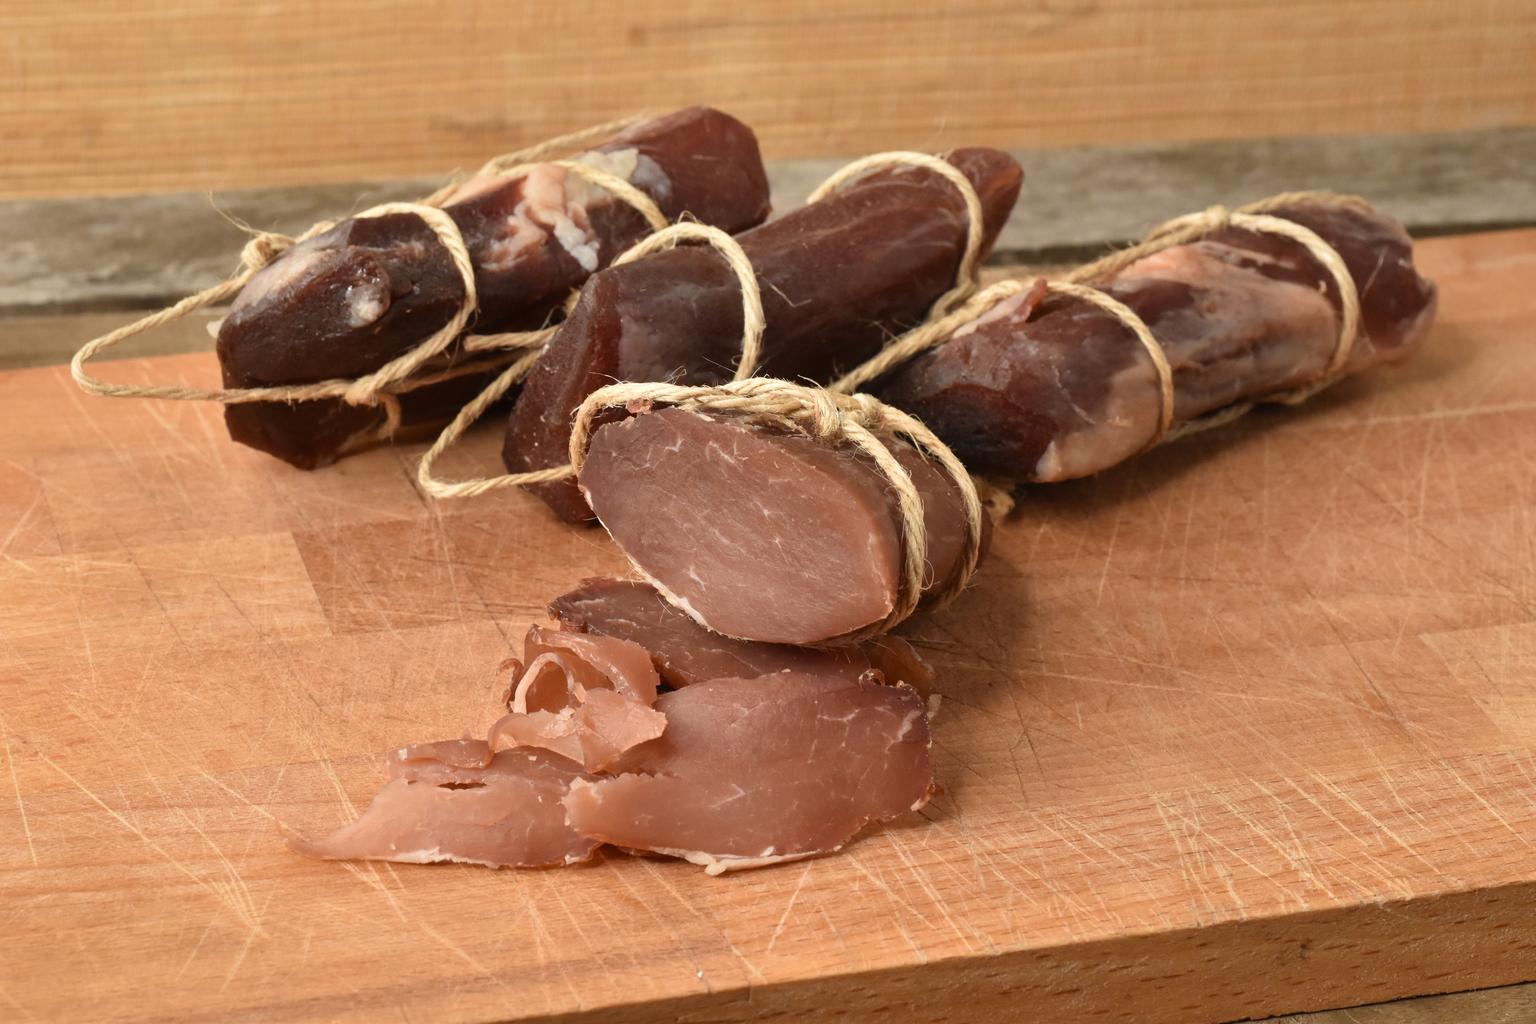
Pictures
The following pictures show the main steps of the process. On the left the raw meat and the appropriate amount of salt are vacuumed packed and will be rest in the fridge for a few days. In the middle you can see my very, very professional system to hang the meat. On the right side the finished meat is vacuumed again to be frozen. It can be stored like this for several months with ease. This way making one batch is actually worth it.

A failed attempt on curing (including a picture of mold forming) can be found at the very bottom of this blog post.