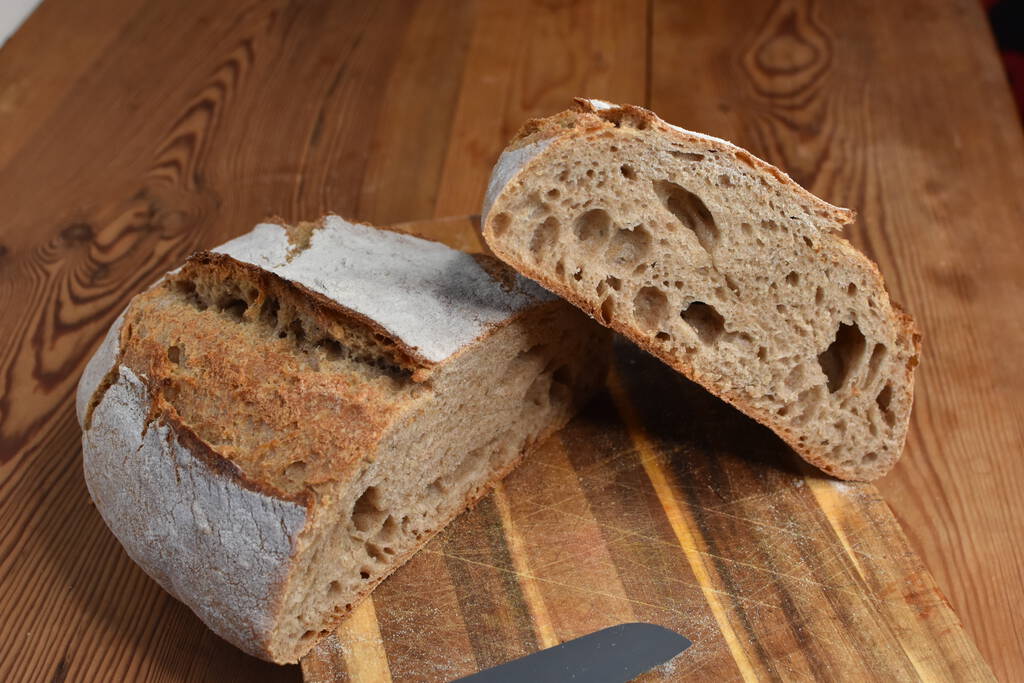
Basic introduction to baking bread. Here we will define our terminology, ratios, temperature as well as potential timetables for various breads.
If you are a complete beginner to sourdough and just want to get your first loaf done, get yourself a sourdough starter and follow my beginner sourdough bread recipe. It is the easiest way to get going with sourdough bread and skips a lot of the steps listed below.
Once you got the basics down with baking sourdough bread in a baking form you might want to go ahead and try other recipes and shaping your loaf by hand.
Terminology
Baker Percentage (info)
When referencing percentages in bread recipes we always use the flour weight as 100% reference for other ingredients such as water. In a recipe using 1 kg flour and 80% water we have to use 800g water (80% of 1 kg). In a recipe using 500g flour and 70% water, we use 350g water (70% of 500g).
Cheat Sheet
Those are the usual amounts that I use as base recipe for sourdough bread. The percentages refer to the chosen hydration level.
| Flour | 60% | 65% | 70% | 75% | 80% | 85% | Levain | Salt |
|---|---|---|---|---|---|---|---|---|
| 1kg | 600g | 650g | 700g | 750g | 800g | 850g | 150g | 20g |
| 800g | 480g | 520g | 560g | 600g | 640g | 680g | ~110g | 16g |
| 500g | 300g | 325g | 350g | 375g | 400g | 425g | 75g | 10g |
| 400g | 240g | 260g | 280g | 300g | 320g | 340g | 55g | 8g |
Hydration Level
Using bakers percentage the hydration level defines how much water content our bread has. A 70% hydration bread uses 70% of the used flour water.
You can make amazing sourdough bread with 70 to 85% hydration, but handling the dough is pretty tricky the more water you use. I usually start at 70% hydration and reduce/add water in future iterations of a recipe when using full grain flour.
When starting out completely fresh or with mostly white wheat flour, start with 65 or even 60%.
Autolyze (info)
To get a better gluten structure, we can mix the used water and the flour and let it rest for some time before adding the other ingredients. This will give the dough a very nice structure and allows the loaf to keep its form during baking more easily.
Mix the water and the flour together per hand or on the lowest setting of your machine. This step does not depend that much on temperature, and I usually let it rest for about 1 hour.
Levain or Mature Sourdough Starter
Once you have a sourdough starter going, you can feed it to get it going forever. However, you do want to use the starter once it is at its peak (has the highest volume). To do so you can feed the starter a few hours before baking (creating a levain), so you know that it will be at its peak when needed.
This takes some practice but is easy to repeat once you get the hang of it. It depends of your current sourdough starter as well as on temperatures.
Those are some values from my experience, however this might vary for you based on your sourdough starter, flour type, …
| Temperature | Min. Duration |
|---|---|
| 30C | 4h |
| 25C | 6h |
| 20C | 12h |
Bulk Fermentation
Bulk fermentation is the first (and usually main) fermentation of the dough. Other than proofing (final fermentation) this one is longer and the loaf is not shaped yet.
This step is required in all sourdough based breads and allows the dough to rise. Temperature has a very high effect on the duration it takes the dough to rise as well as on the result. The fastest rise you will get around 25–30 degrees in a few hours, while you can archive a slow rise in the fridge over 24 hours.
Note that taste wise it does make a difference and a longer rest usually is preferred. You can use a floured bowl or a baking form, however I usually prefer a proofing basked with inlay.
| Temperature | Duration |
|---|---|
| 28C | 2h |
| 22C | 4h |
| 10C | 12h |
| 3C | 24h* |
Note: the dough needs to rest at room temperature for ca. 2h before the 24h fermentation at 3 degrees.
Shaping
Shaping is done after the bulk fermentation and should not be skipped, even when using a proofing basked. Shaping aims to create a strong outer layer, so it can hold its form during baking.
Check out this post for more details about bread shaping.
Proofing (info)
Proofing (final fermentation) is done after shaping the bread, often in a proofing basket. It allows the bread to rise just a bit after shaping. Note that this is not a replacement for the bulk fermentation. Letting the dough ferment for a long period of time in the proofing basked can lead to a big mess as the dough begins to stick to the inlay.
Taste wise the difference between a short or long proofing period is not as drastic as with the bulk fermentation. I either let the bread proof for a short time directly after shaping (and before baking) or I let it proof overnight in the fridge.
| Temperature | Duration |
|---|---|
| 28C | 0.5h |
| 25C | 2h |
| 3C | 12h |
Scoring
Cutting in the (unbaked) loaf directly before baking. This allows you to control the oven spring of your bread.
Oven Rise
To get good oven rise, temperature is the key. Preheat the oven to 250 degrees including the baking tray you put the loaf on later on. To keep the temperature up it does help a lot to use a pizza stone in addition to the baking tray.
The best results by far are possible when using a Dutch oven. Not only will this keep the temperature, it also keeps the perfect steamy environment for your loaf when closed. When referencing covered or uncovered baking, I usually refer to opening the Dutch oven.
Baking
Preheat the oven to 250 degrees. I usually bake bread at full heat for 20 minutes (closed Dutch oven if used) followed by 30 minutes at 200 degrees (opened Dutch oven). Note that preheating the oven takes longer when using the Dutch oven.
Timetables
Having a good timetable makes it easier to integrate the whole process of making amazing sourdough bread into a normal working day. As the duration of several steps highly depend on the temperature I have different timetables for different seasons.
A basic timetable for room temperature of 20-22 degrees would be 4h bulk fermentation and 2h proofing.